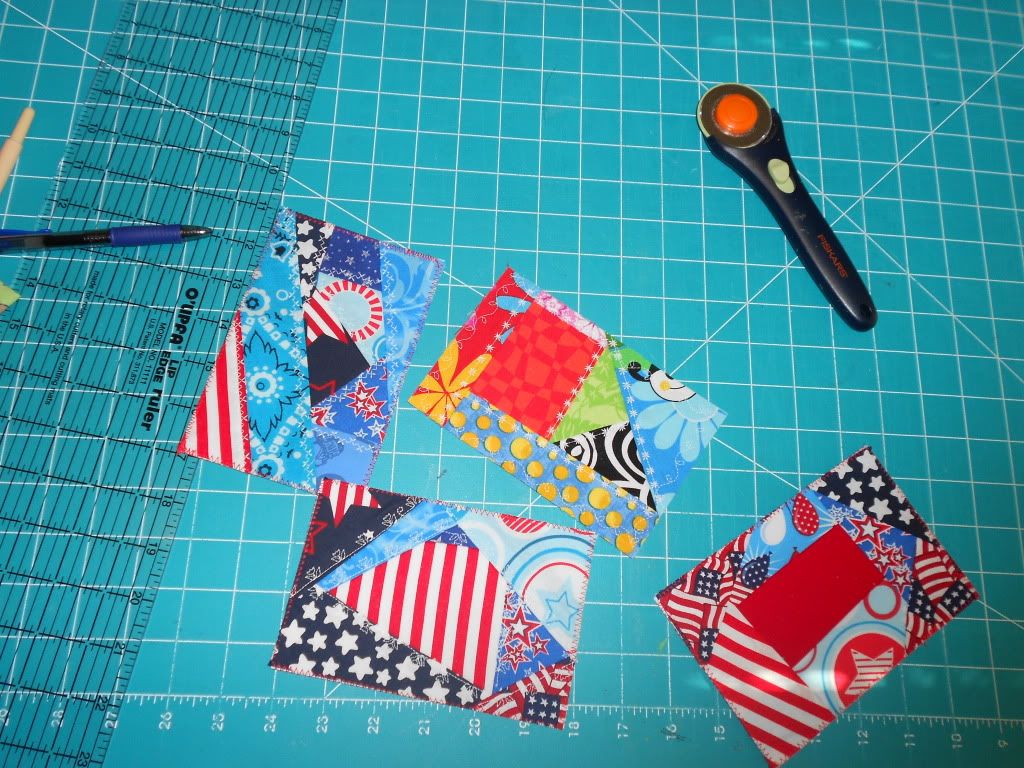
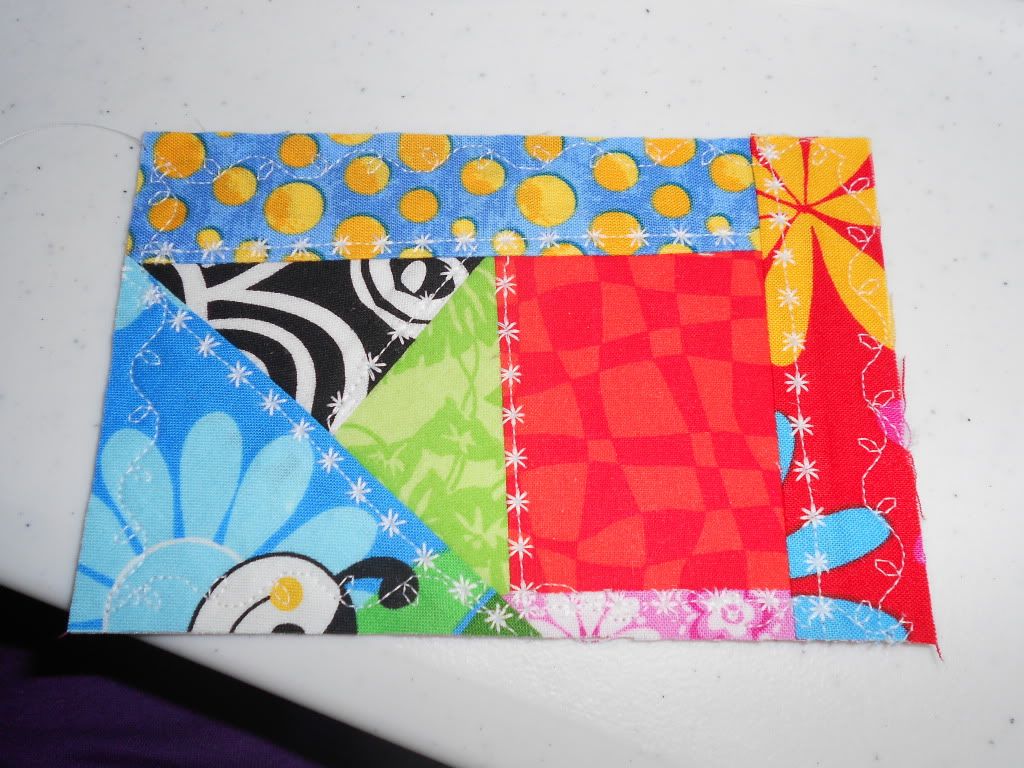
I am in the process of making these fabric postcards for a card exchange and for my adopted soldiers and marines. I've had a few people ask me how I made these. I finally remembered to take pics today so I could write a how-to. Yay! These are all for an Independence Day card exchange, but (surprise, surprise!) I got bored with sewing the same old red, white, and blue fabrics over and over.
First off, I should say I stumbled upon this blog post from Sunshower Quilts and this one from Deb Richardson about making fabric postcards, and just played with a bit to make it to my liking. I've already made about 30 of these things, and I'm only about half finished, so lots of things have changed from the first one to the ones I made today.
Here's what you'll need:
stiff stabilizer- I used Peltex, because that's what my fabric store had
Wonder Under or other fusible web
scrap fabric
fabric for backing- solid colors!!!
rotary cutter/mat/ruler
iron/ironing board
sewing machine
scissors
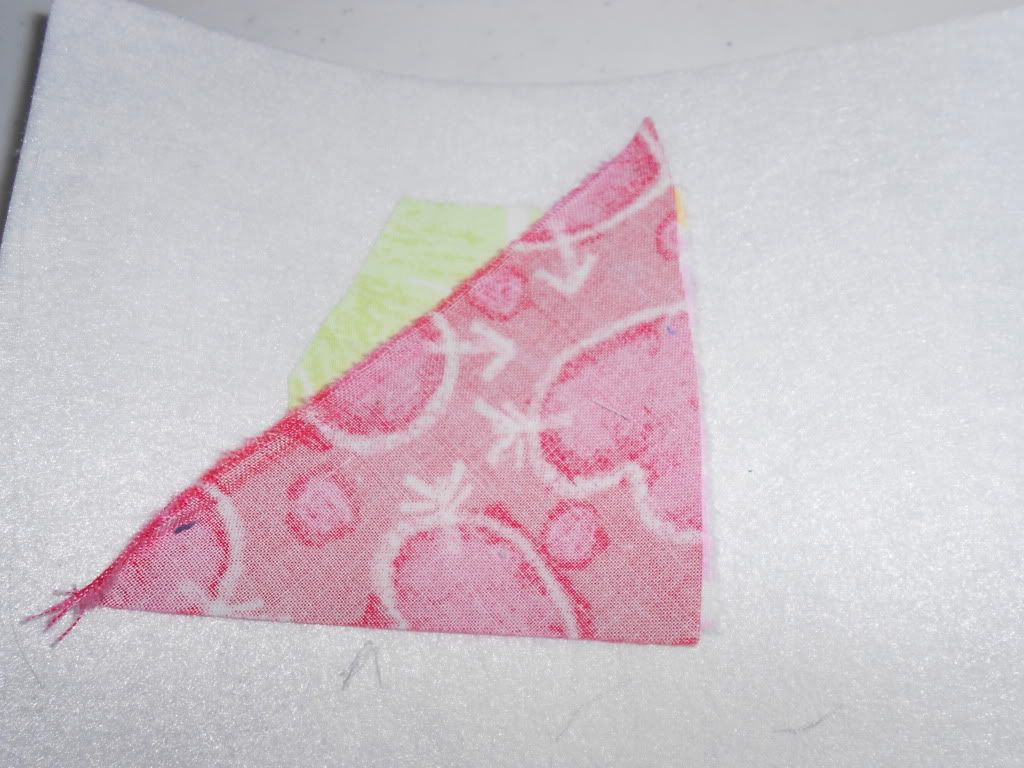
I made 4x6 cards, so to start with, I made my cards 5x7 and trimmed them down later. So first off, cut your Peltex to 5x7 (or about 1" bigger than the finished size you want). Pick out two scraps to start with. I've found that a 3 or 5 sided piece looks best in the end, but you can use a square if you want to keep it simple. Lay one piece right side up on the Peltex with the other right side down on top of it, lining up the edges on one side. Like so:
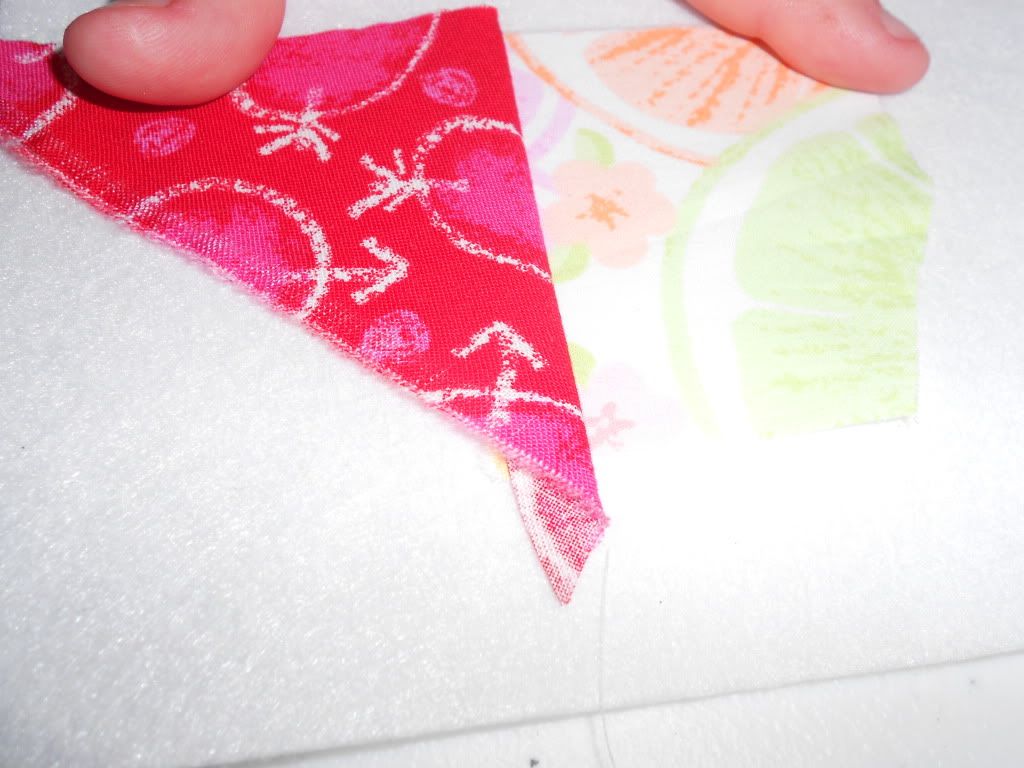
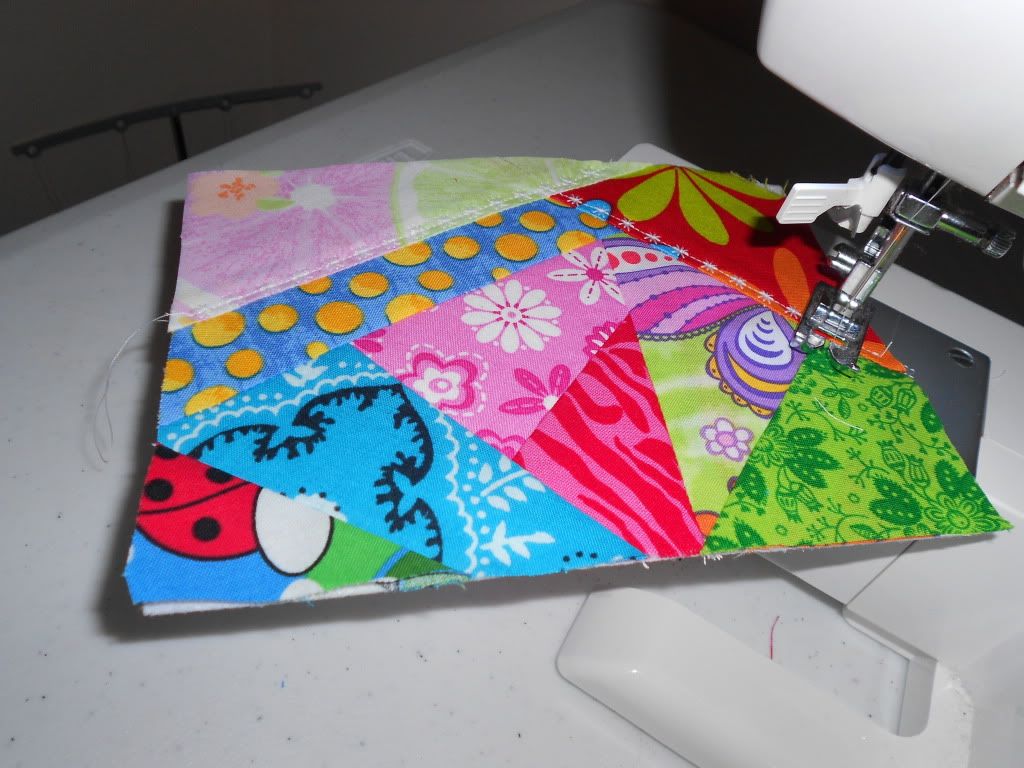
Sew down the sides that are lined up with a straight stitch. I didn't bother with to back stitch, because it will be stitched over again. Flip the top piece back so it's right side up, then iron it all smooth.
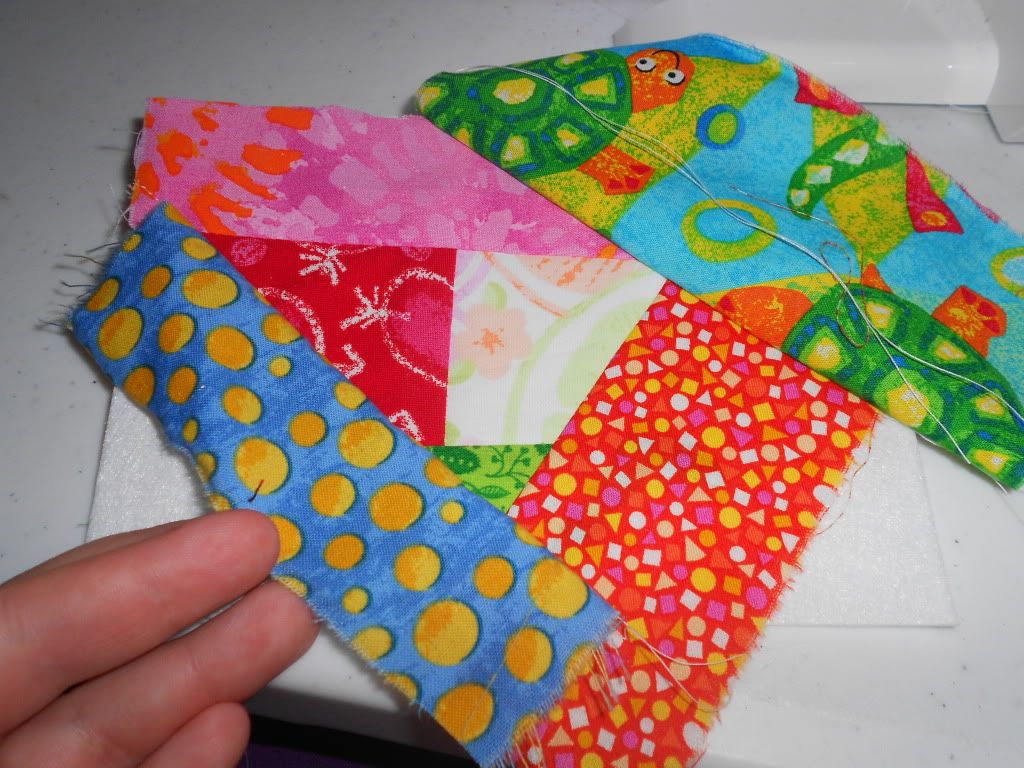
Just make sure all the raw edges are covered. When you've done that, give it one more good press with the iron. Trim off the excess fabric- precision isn't necessary at this point, just chop off the bulk of it. Switch your machine to a decorative stitch, then sew over all the seams you made.
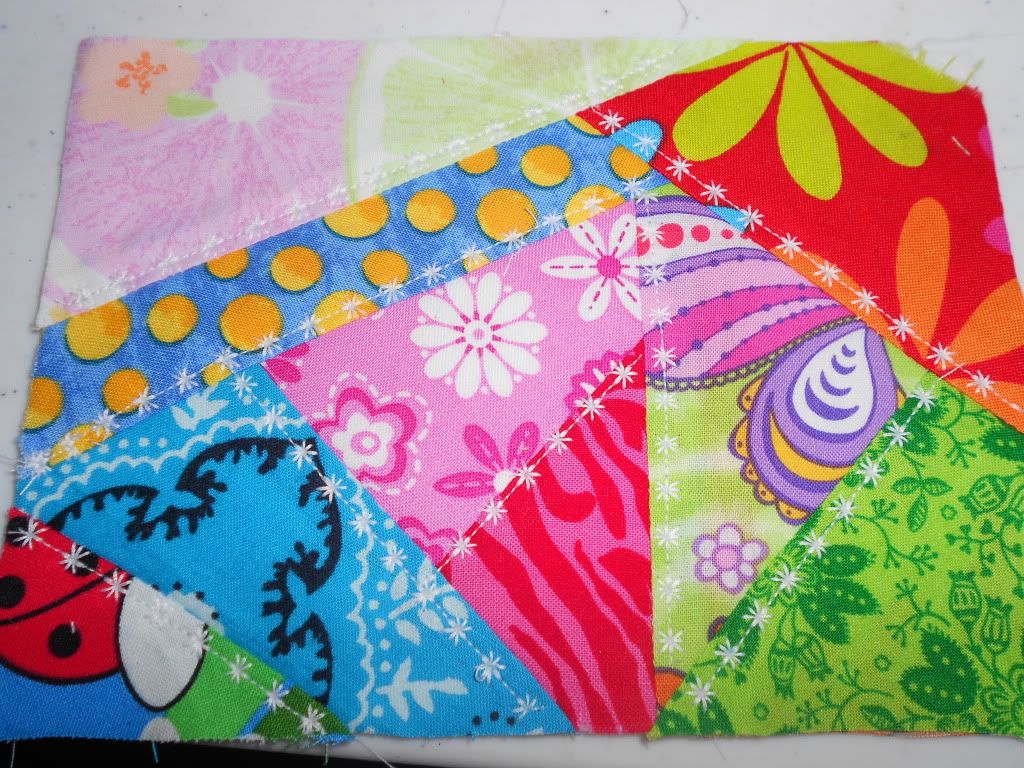
I sew just to the side of the seam, instead of right on top of it.
This is after I've stitched along all the seams.Of course I forgot to take a picture of the back at this point, but suffice to say that it is just a mess of threads going everywhere.
Now to attach the backing fabric. You can use anything solid for the back. I had some scraps of red, white, and some of the tan muslin laying around, so I've used all of those. For this one I used excess fabric I had to cut out of the skirt I made from part of a bed sheet. I had LOTS of excess from that, but I'll save that rant for another post.
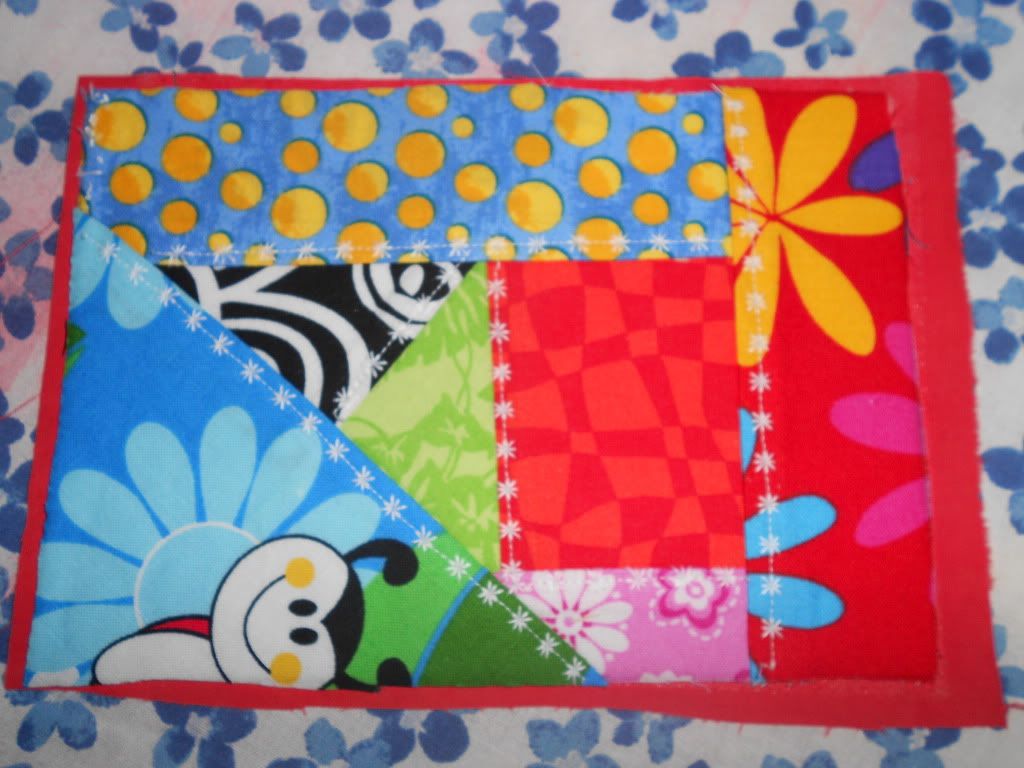
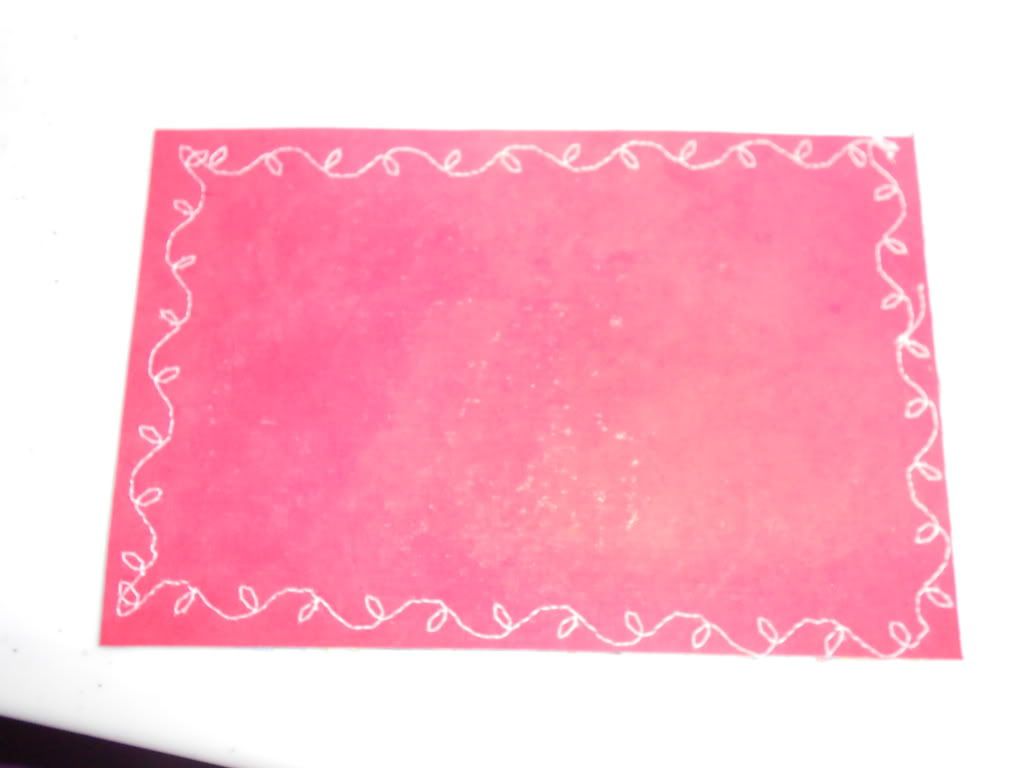
Take your fusible web and attach it to the backing fabric according to the directions. Cut a piece of the fabric with the fusible web on it roughly the size of your 5x7 card. I just lay my card on top of the backing fabric and cut around it. Attach the backing fabric to the back of the card according to the fusible web instructions. This is what mine looked like after I attached the backing.
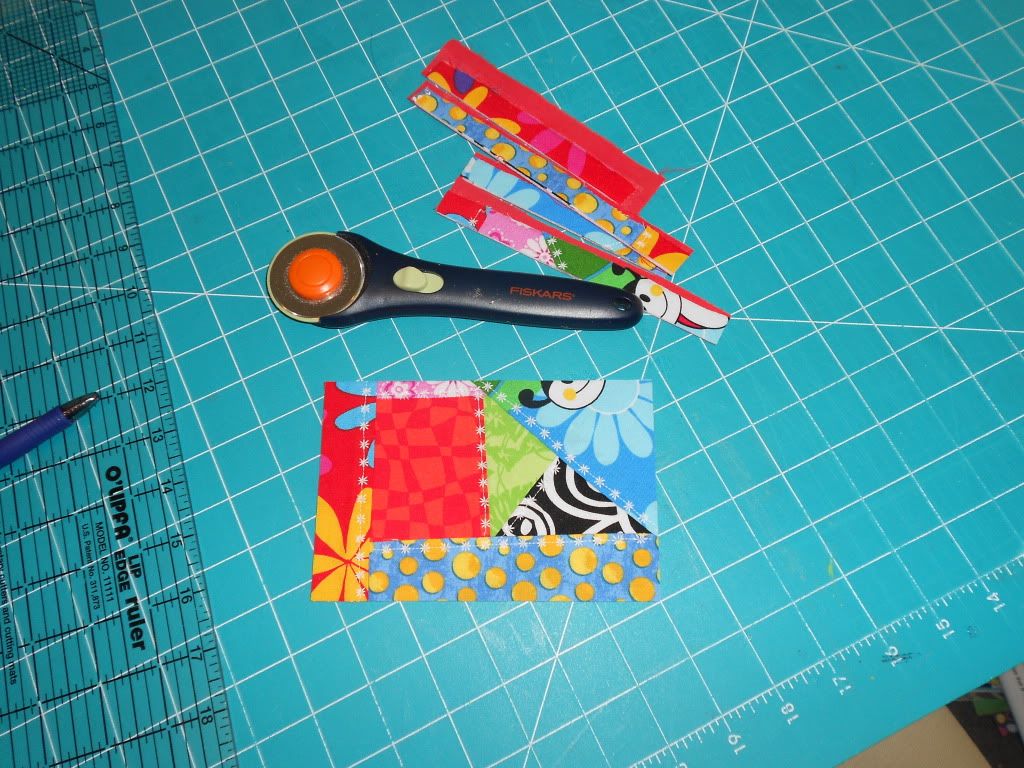
Take it to your cutting mat and trim it down. Since mine was 1" bigger each direction, I trimmed 1/2" off each side.
Now you have to finish the edges. You can use whatever stitch you prefer- I have used zig zags right along the edges, straight stitches 1/8" to 1/4" from the edge, but my personal favorite is a decorative stitch. My machine has a star which I am slightly fascinated with. It's how I've finished about 80% of my cards so far. I used a swirly leaf pattern on this one.
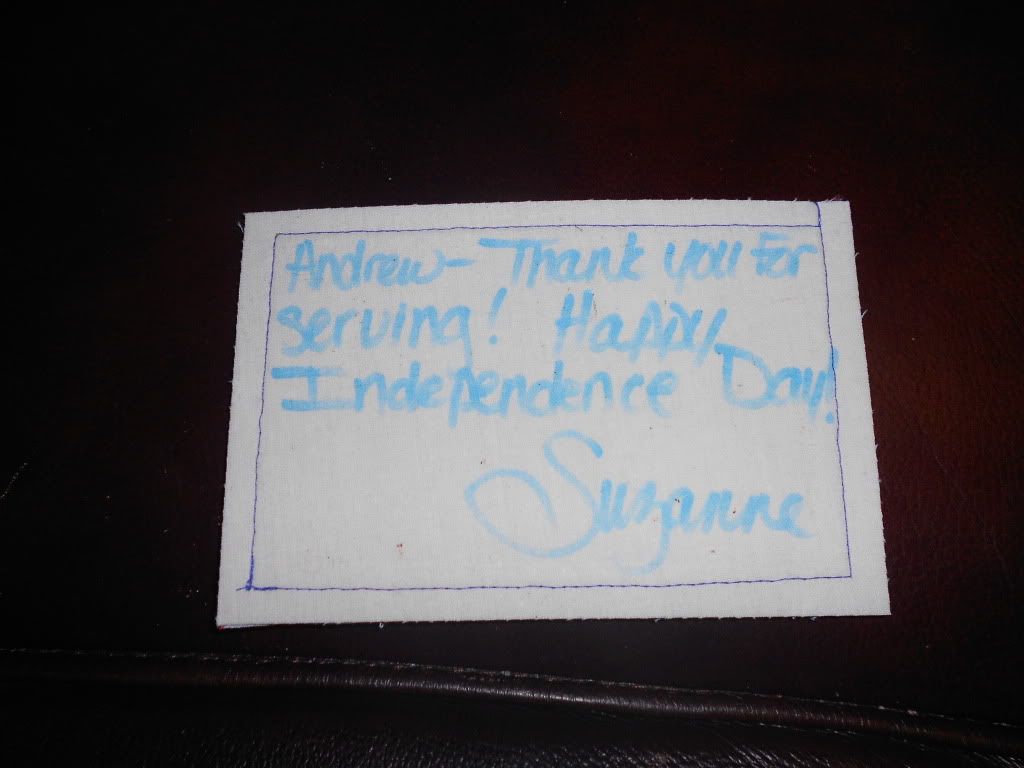
This is as far as I have taken my cards. All of mine will be going in an envelope and mailed with several others, so I didn't need to bother with making them acceptable for the USPS. You can follow the links above to see how those bloggers did it. I just jotted a message on the back with a Crayola fabric marker that I happened to have. Sharpies also work great.
You're all done now! These things are strangely addictive to me. Probably because my attention span for sewing projects is about 5 minutes, and I can almost completely finish one of these in that time. Here's what a finished card looks like from the back.
