Thursday, July 12, 2012

My newest hobby

Shame on me- I am officially a bad blogger. I can't believe it's been so long since I posted last! I get busy making new things and time just kind of slips away, then whoops, three months have passed by and I've not written a single post. But anyway. I didn't sign on today to ramble on about my lack of posts. Instead, I wanted to ramble on about my newest hobby: crochet. I looooooooooooove it. A friend suggested a Facebook crochet group to me, so I joined. Then I joined the group's 12" square swap to make 55 squares. I've been crocheting like mad, and thus far have 54 1/2 squares done. Now I have to figure out how to ship all those to San Diego!


My very most favorite things to make are hats. I've made an assortment of hats for a friend, her husband, and their three boys, and several for my daughter as well. So today I wanted to post up some pictures of what I've been doing the past three months.

 My little fashionista has to have hats!

Zombie!

 Dinosaur

 For the baseball fan in your life.
 My version of a Teenage Mutant Ninja Turtle- Leonardo
 Monster!
 Cotton bowls

A chunky hat and scarf set. 


I have made several other hats, but I seem to have misplaced the pictures. Imagine that!

Wednesday, April 4, 2012

Fabric Postcards

LOTS of pics in this post!!!

I am in the process of making these fabric postcards for a card exchange and for my adopted soldiers and marines. I've had a few people ask me how I made these. I finally remembered to take pics today so I could write a how-to. Yay! These are all for an Independence Day card exchange, but (surprise, surprise!) I got bored with sewing the same old red, white, and blue fabrics over and over.


First off, I should say I stumbled upon this blog post from Sunshower Quilts and this one from Deb Richardson about making fabric postcards, and just played with a bit to make it to my liking. I've already made about 30 of these things, and I'm only about half finished, so lots of things have changed from the first one to the ones I made today.

Here's what you'll need:
stiff stabilizer- I used Peltex, because that's what my fabric store had
Wonder Under or other fusible web
scrap fabric
fabric for backing- solid colors!!!
rotary cutter/mat/ruler
iron/ironing board
sewing machine
scissors

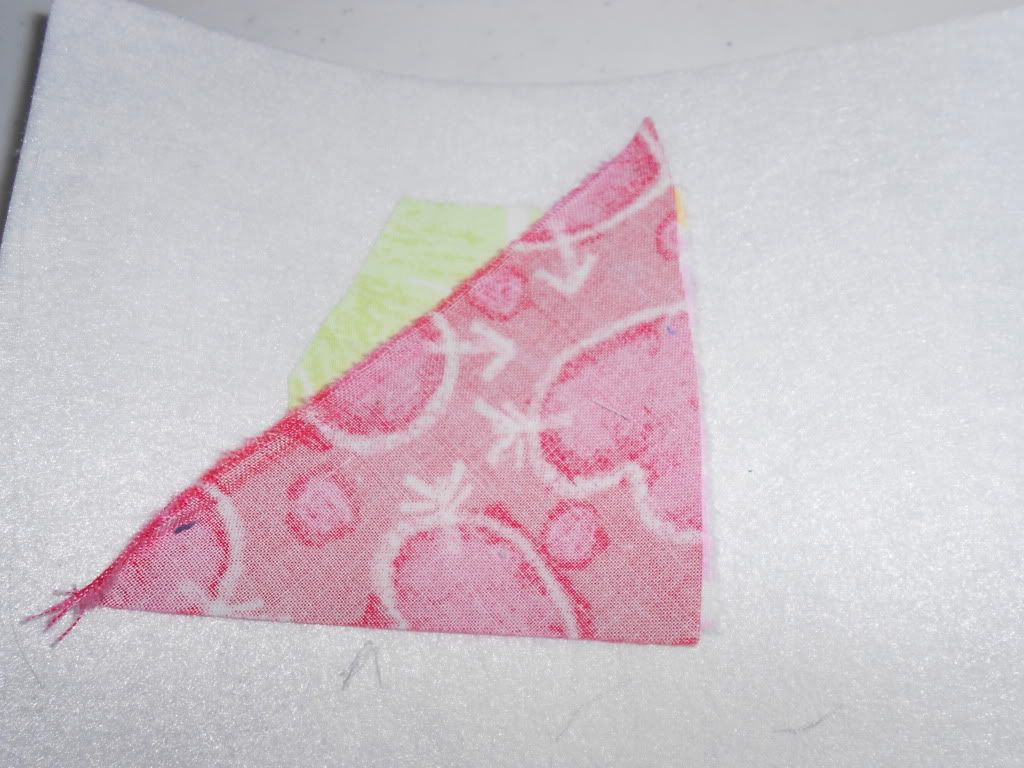
I made 4x6 cards, so to start with, I made my cards 5x7 and trimmed them down later. So first off, cut your Peltex to 5x7 (or about 1" bigger than the finished size you want). Pick out two scraps to start with. I've found that a 3 or 5 sided piece looks best in the end, but you can use a square if you want to keep it simple. Lay one piece right side up on the Peltex with the other right side down on top of it, lining up the edges on one side. Like so:
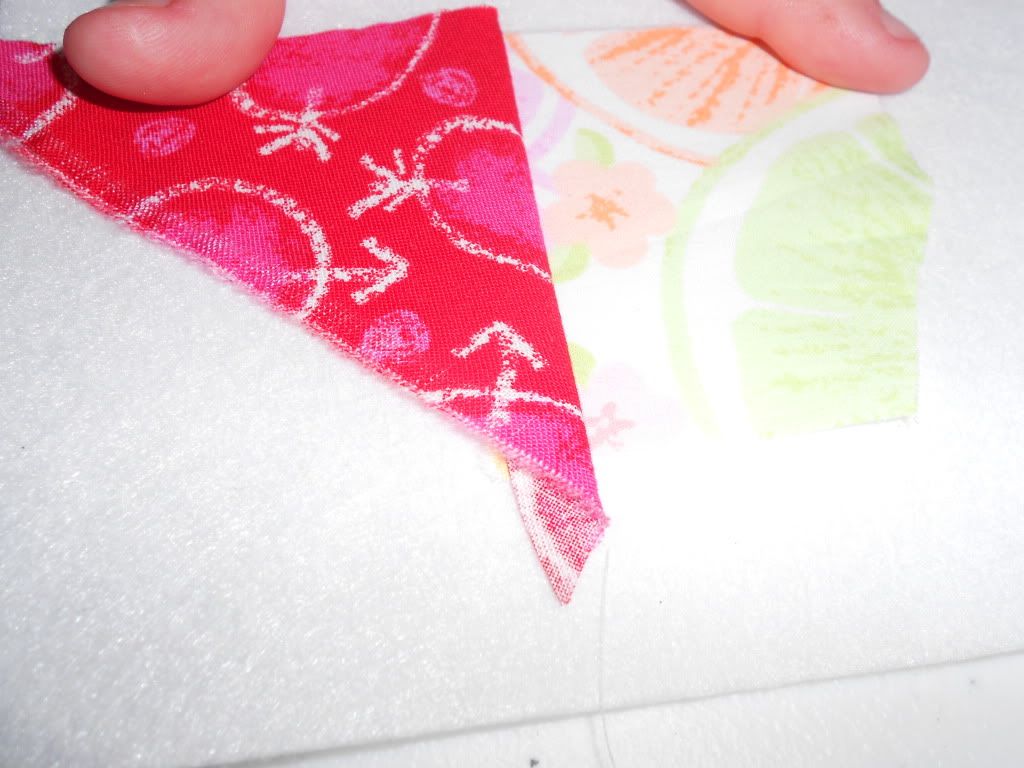
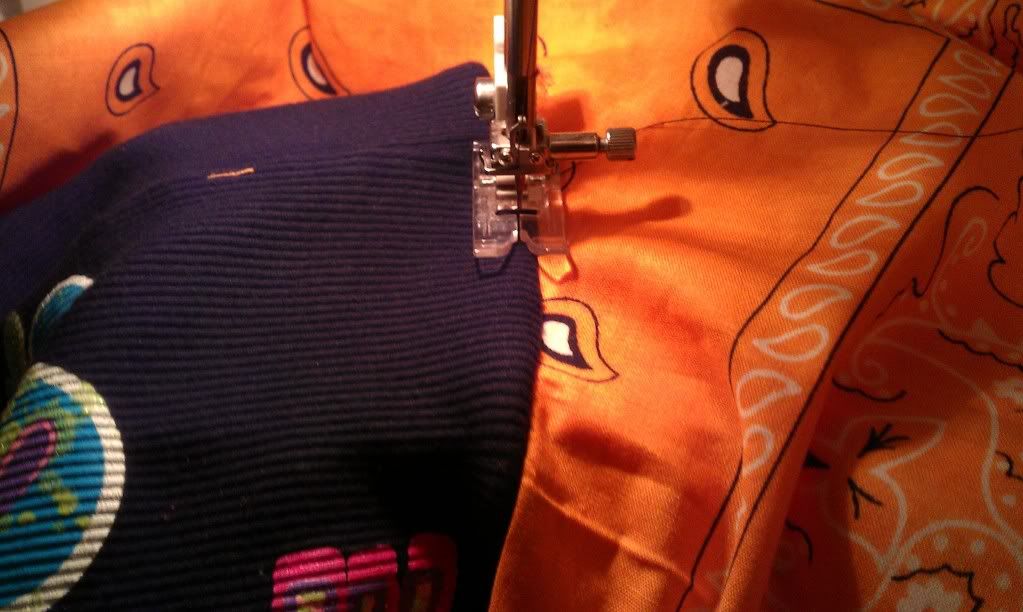
Sew down the sides that are lined up with a straight stitch. I didn't bother with to back stitch, because it will be stitched over again. Flip the top piece back so it's right side up, then iron it all smooth.
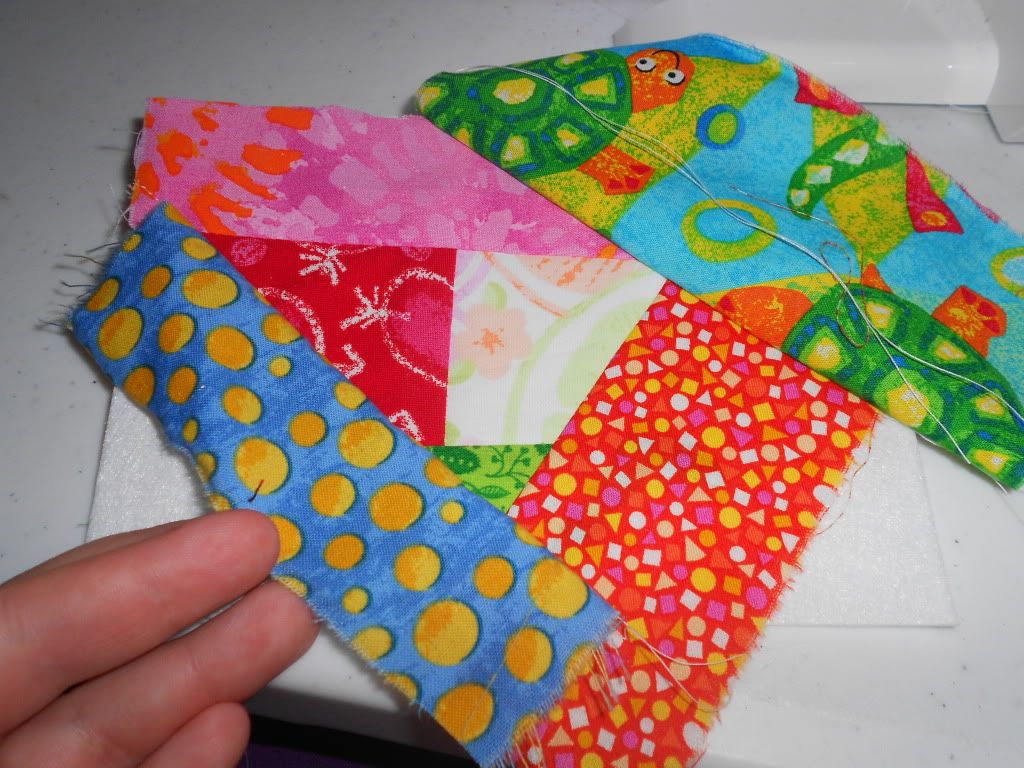
Pick out another scrap piece and lay it face down on another side of your first piece. Sew it down, flip it back right side up and press. Do this all the way around your first piece until all sides of it have been covered. You'll probably need some bigger scraps to go around the second time. Just keep sewing pieces down until you've covered the entire piece of Peltex. You'll end up with lots of overlap, but don't worry about that.
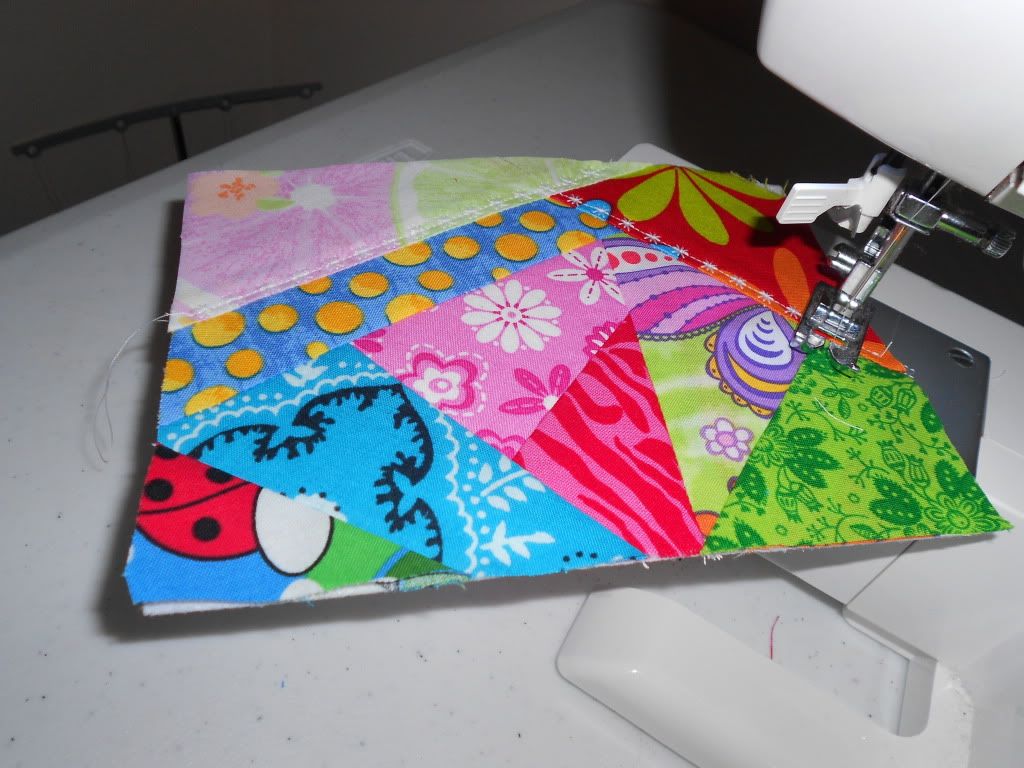
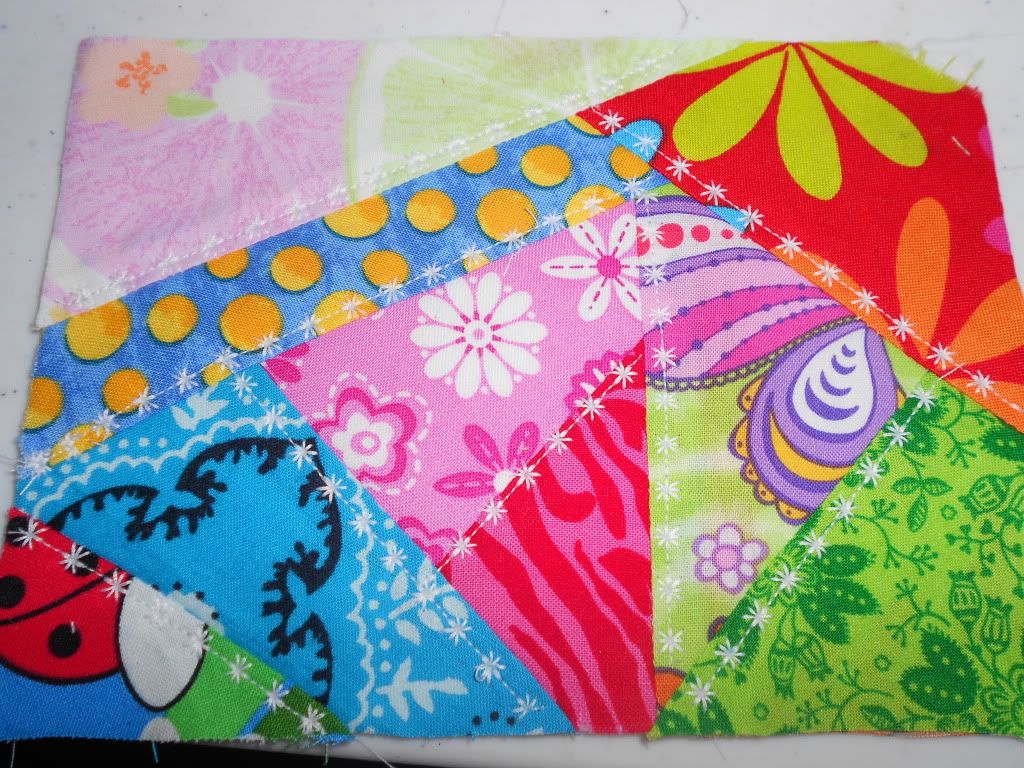
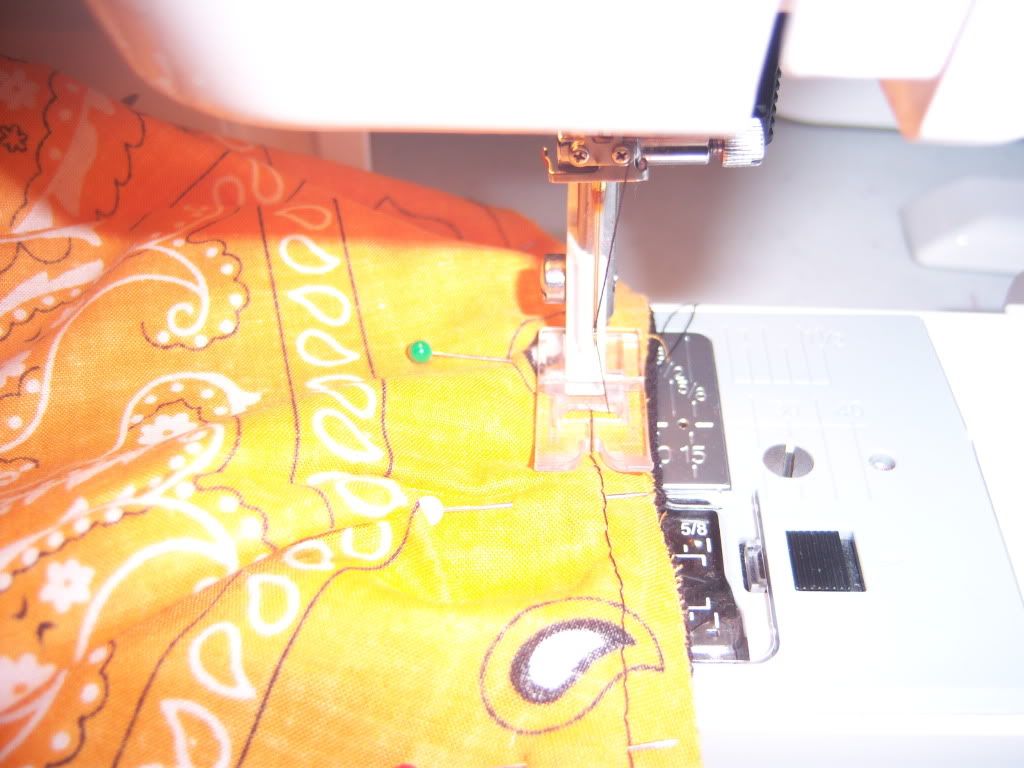
Just make sure all the raw edges are covered. When you've done that, give it one more good press with the iron. Trim off the excess fabric- precision isn't necessary at this point, just chop off the bulk of it. Switch your machine to a decorative stitch, then sew over all the seams you made.
I sew just to the side of the seam, instead of right on top of it.
This is after I've stitched along all the seams.Of course I forgot to take a picture of the back at this point, but suffice to say that it is just a mess of threads going everywhere.

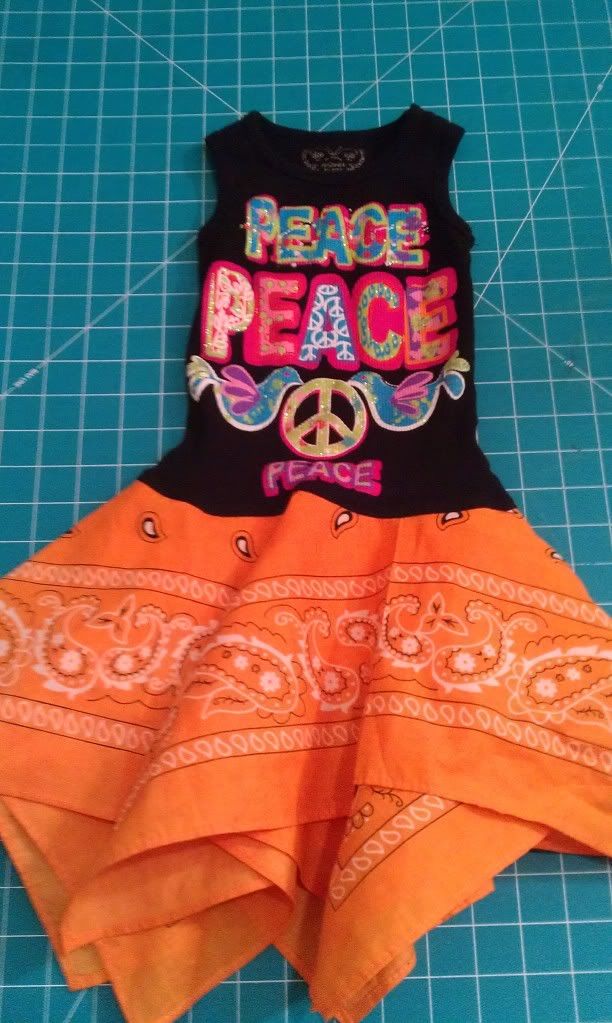
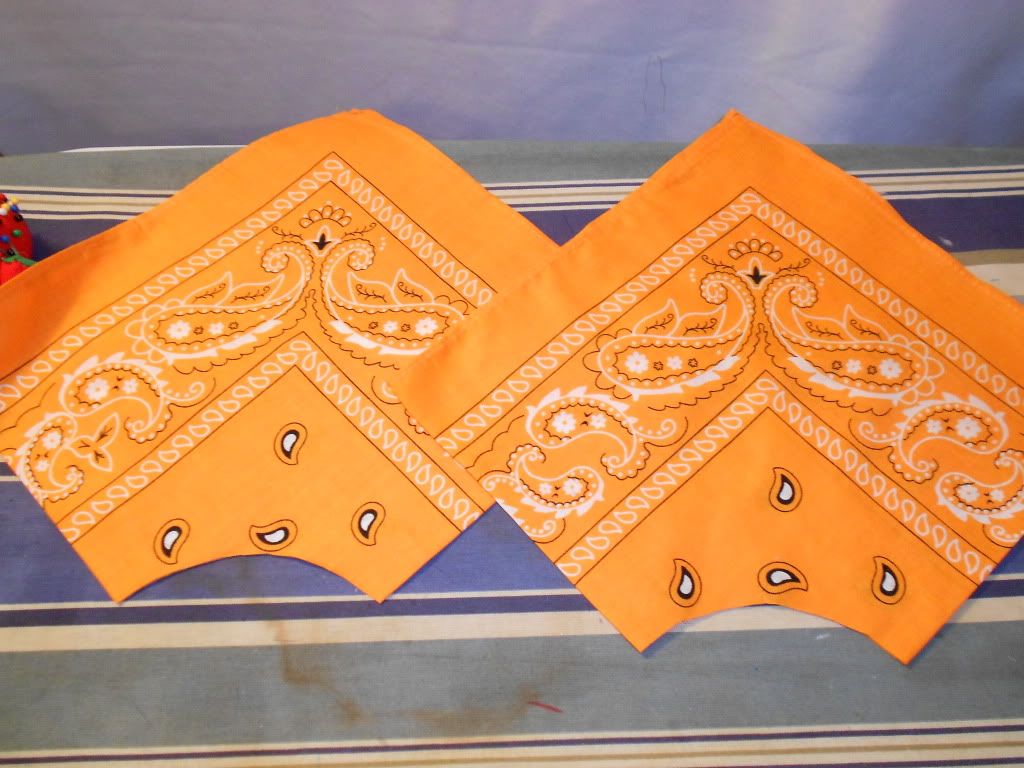
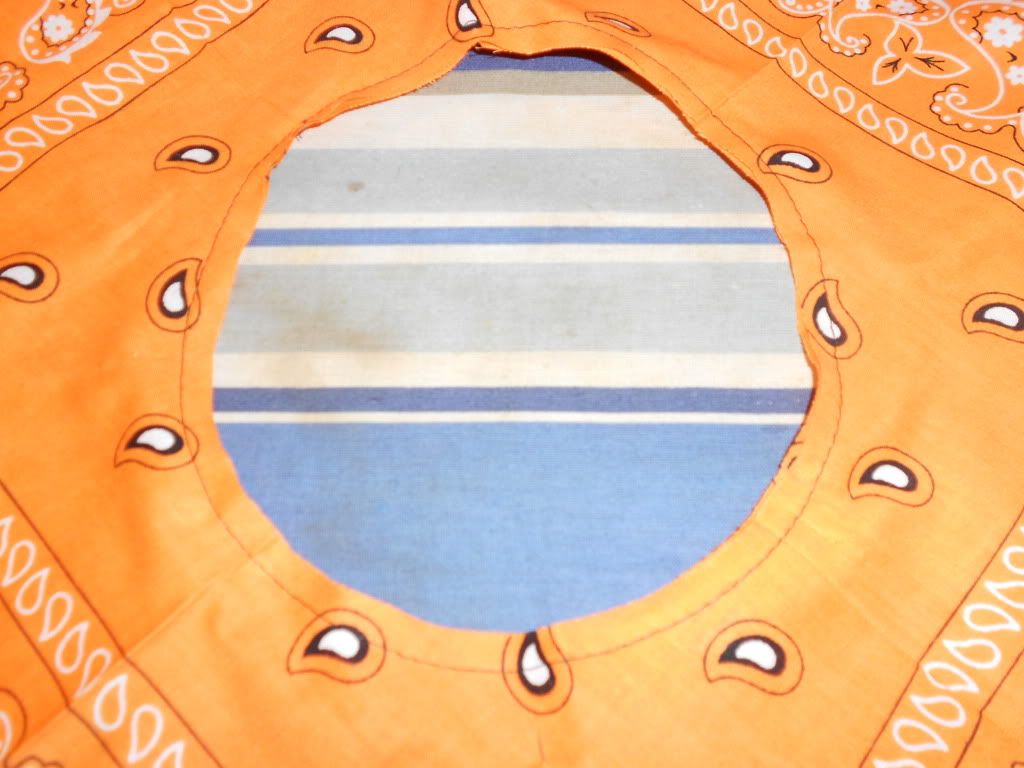
Now to attach the backing fabric. You can use anything solid for the back. I had some scraps of red, white, and some of the tan muslin laying around, so I've used all of those. For this one I used excess fabric I had to cut out of the skirt I made from part of a bed sheet. I had LOTS of excess from that, but I'll save that rant for another post.

Take your fusible web and attach it to the backing fabric according to the directions. Cut a piece of the fabric with the fusible web on it roughly the size of your 5x7 card. I just lay my card on top of the backing fabric and cut around it. Attach the backing fabric to the back of the card according to the fusible web instructions. This is what mine looked like after I attached the backing.

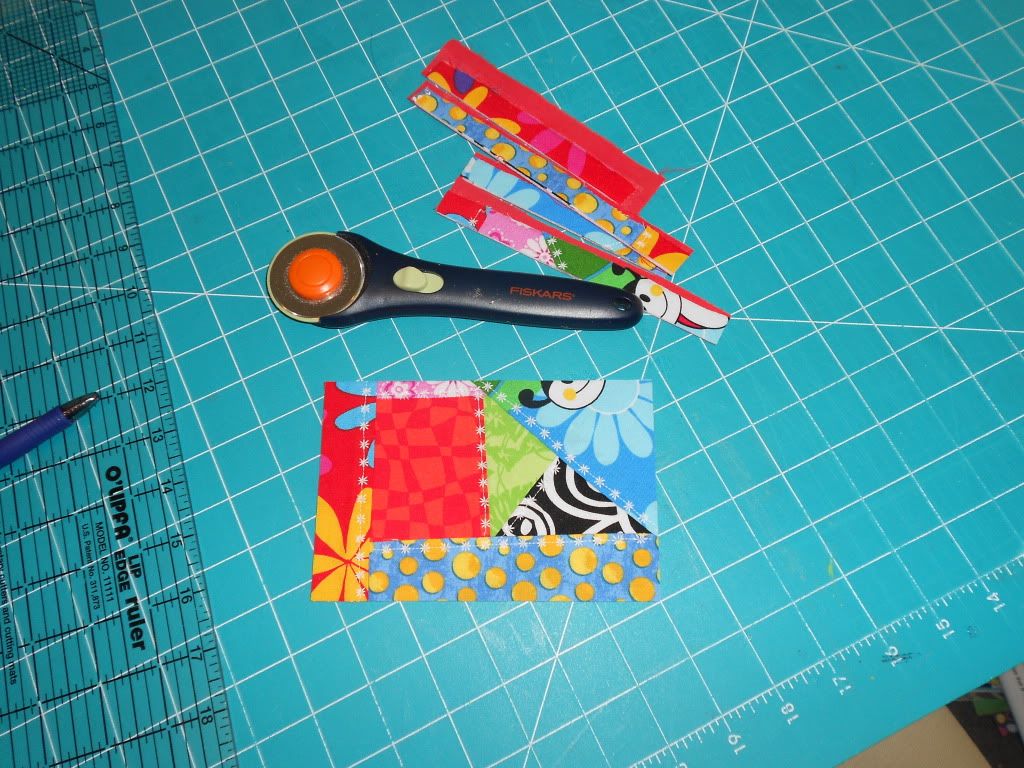
Take it to your cutting mat and trim it down. Since mine was 1" bigger each direction, I trimmed 1/2" off each side.
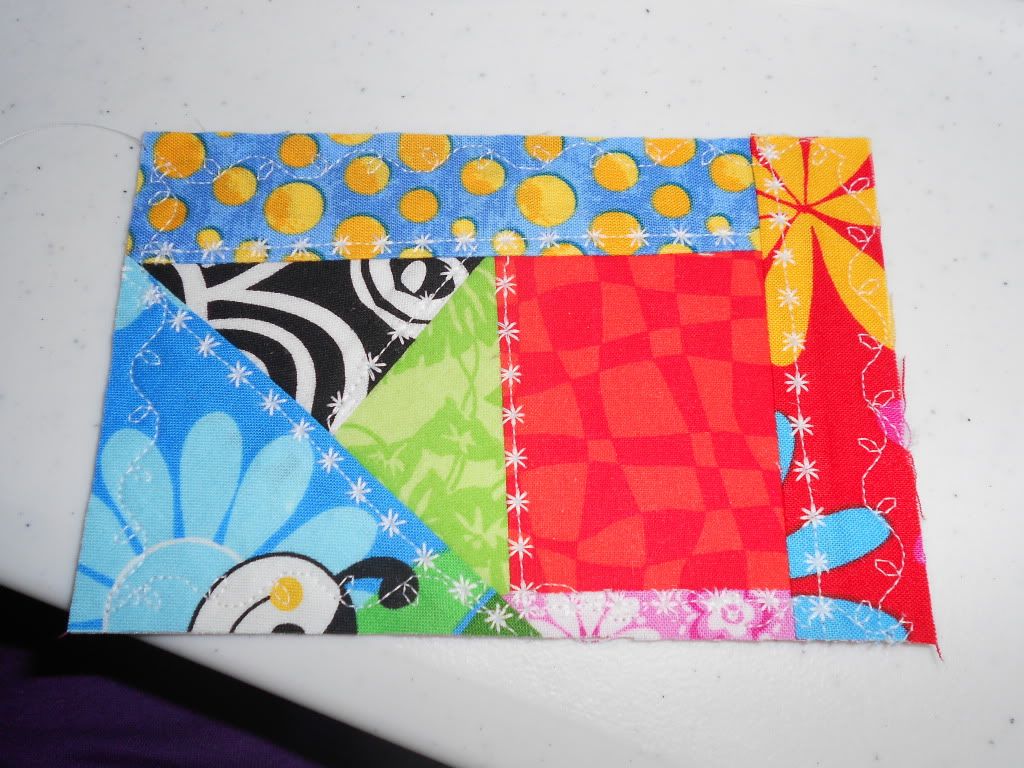
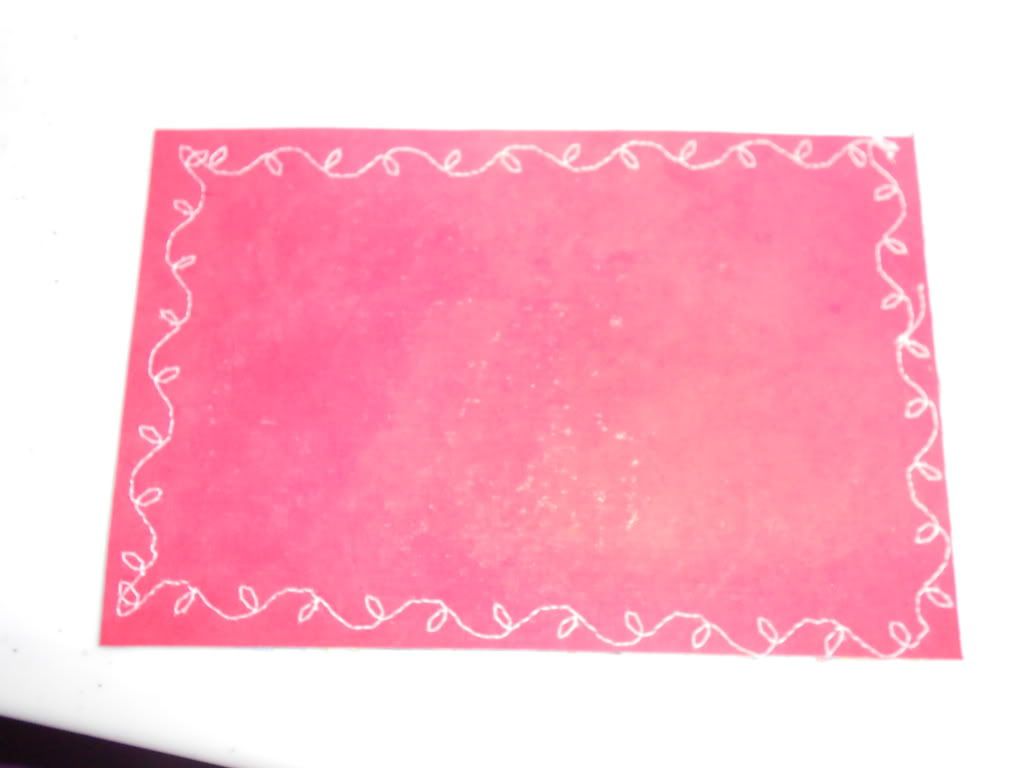
Now you have to finish the edges. You can use whatever stitch you prefer- I have used zig zags right along the edges, straight stitches 1/8" to 1/4" from the edge, but my personal favorite is a decorative stitch. My machine has a star which I am slightly fascinated with. It's how I've finished about 80% of my cards so far. I used a swirly leaf pattern on this one.
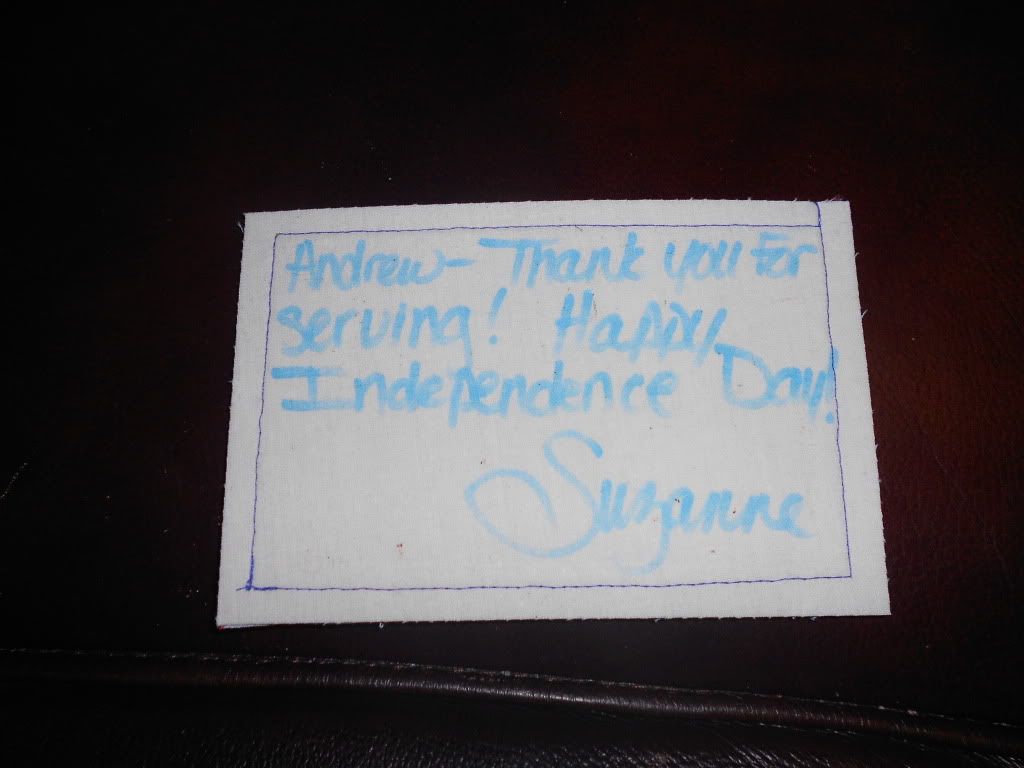
This is as far as I have taken my cards. All of mine will be going in an envelope and mailed with several others, so I didn't need to bother with making them acceptable for the USPS. You can follow the links above to see how those bloggers did it. I just jotted a message on the back with a Crayola fabric marker that I happened to have. Sharpies also work great.
You're all done now! These things are strangely addictive to me. Probably because my attention span for sewing projects is about 5 minutes, and I can almost completely finish one of these in that time. Here's what a finished card looks like from the back.


Friday, March 9, 2012

Quick & easy DIY air freshener

I've been rather lacking on the blog scene, considering that I'm new. Shame on me. A few weeks ago I hit up some estate sales while Mom was in town, and made some awesome scores. I found a trunk and a small dresser for $5 each, and a few nifty old school jars. I've been busy fixing them up, and when I get them all spiffed up, I intend to make a post about them. However, in the mean time, I discovered a nifty way to make an air freshener in about 5 minutes.

Here's what you need:
Purex crystals fabric softener


This is my favorite scent. I love using it for laundry because it smells up my laundry room and kitchen. Yum!
You will also need a canning jar with a two part lid- the ring and seal type, a small square of fabric big enough to cover the top of your jar, and a pair of pinking shears.

I didn't take any pics of the process, but it's beyond easy, so no biggie. Take your jar- it doesn't matter what size. I used a pint jar because that's what I had, but a smaller jar would work just as well. In fact, probably better. Pour in some of the Purex Crystals. I put about an inch in my jar. This is where the smaller jar would work better- you could use a smaller amount and not have the empty space showing in the jar. Trim your fabric piece with pinking shears so it doesn't ravel. Place it over the top of the jar and screw the ring down over the top. Ta-da! All done. If you wanted to use these as a gift (which I intend to do, as part of a DIY gift basket for household goodies) you could put the seal on the jar, then the fabric, then the lid to hold the smell goods in until it gets to the recipient. Even decorate it with a ribbon or a label. Get crazy with it.

Sunday, February 5, 2012

Bandana tank dress

Warning: extremely photo heavy post! 

This is my first EVER attempt at a tutorial, so if I mess it up, cut me a little slack. If you have questions, or if I skipped a step or whatever, please ask. I'll do my best to clarify. Today I made a bandana dress- I suppose "made" is a bit of a stretch. More like I upcycled one of Pest's (that's my three year old daughter who will be making her modeling debut at the end of this post) too short tank tops into a dress with a handkerchief hem. She is tall and skinny, and outgrows the length of clothing pretty quick, so I get to revamp a lot of her old shirts. At any rate, this is what I made today, and I'll share with you how I did it. 


What you'll need:
Tank top (or tee shirt- sometimes I use halter tops, just depends what I have around the house)
2 bandanas
thread to match
any sewing machine
pins
iron/ironing board
scissors
circle skirt pattern- I used this tutorial to make mine. I love her tutes- they are the easiest ever to follow, and so cute!

I started with this tank top:
 I didn't rotate- sorry!

and two tangerine colored bandanas. I probably should have washed and dried the bandanas first, but I was impatient and skipped that step. Bad me.

First off, iron your bandanas so they're all nice and smooth and free of wrinkles. Then fold it in half, press, fold in half and press all the fold lines into a nice crease. You should now have a square one quarter of the size of your bandana. Like this:


Please excuse my ironing board cover. I know it's in desperate need of replacement.

Now is when you need to cruise over to Made and get the circle skirt tutorial. You won't need the entire pattern if you don't want it, but I highly suggest you go ahead and make it. Circle skirts are the cutest, they're super easy, and they are super twirly. But make however much of it you want. When you have your pattern done, pin it onto one of your bandanas with the edges on the folded sides of your fabric.
FYI, old priority mail envelopes (the tyvek stuff that doesn't rip) make excellent patterns for little people clothes.

Cut out the little quarter circle in the middle, and do the same thing for your other bandana. They should look like this:
Unfold them and stack them on top of each other, but stagger them so that the point of one is in the middle of a straight side.
Pin them together, and baste. Here is mine basted together.
Next, cut the bottom hem off your shirt. Since this shirt was already a little short, I just cut the bare minimum off, but if it was a shirt that fit, or was a little long you could cut off more.
Flip the skirt portion over so that you are looking at the back side and slip your shirt down through the waist of the skirt. Starting at the side seams of your shirt, pin the skirt to it. This is where your creases will come in handy. I start out by pinning both side seams to the corresponding crease in the skirt. Next I match up the side seams and pinch the front of the shirt to see where the halfway point is, then pin that to the matching crease.
 (I really hope that makes sense, because I forgot to take a pic of that step.) Put a pin halfway between each of the pins already there, then at the halfway point between those. Feel free to question me about that, because it didn't even make sense to me. Now sew it together right over the top of your basting stitches.
I serged over the raw edges, but if you don't have a serger you can just zig zag around it. Either works. 
Now flip the skirt down. Spiffy, right? You're almost done. Top stitch around the bottom of the shirt. Run your finger along the bottom side of the dress as you sew to make sure the seam is flipped the right direction so that you catch it while you're sewing. 
You're done! Super simple, right? 

I love making these little dresses and Pest loves wearing them, due to the spin factor. This was the first time I'd ever made her one with the handkerchief hem. Usually I just do a circle skirt and sew it on the same way. I saw the bandanas in the store earlier today though, and thought I'd give it a shot.

Tuesday, January 31, 2012

New around these parts.

Pinterest has escalated my crafty habit of late. At least I actually DO some of the things I pin. That justifies my addiction...right? This is my first ever blog and I decided to start it as kind of a spur of the moment thing. I wanted a place to keep all my crafty projects together. I usually find tutorials or patterns I like online, but inevitably I end up changing something about them. Ideally this will be my place for sharing all that stuff. I think the hardest part for me will be remembering to take pictures of projects in the works. I'll do my best though!