Warning: extremely photo heavy post!
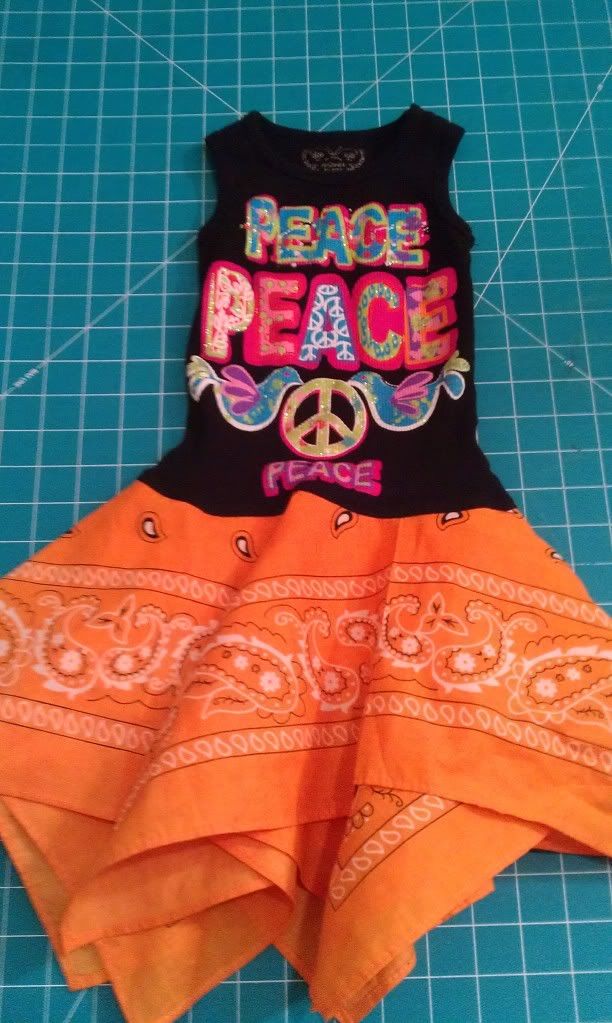
This is my first EVER attempt at a tutorial, so if I mess it up, cut me a little slack. If you have questions, or if I skipped a step or whatever, please ask. I'll do my best to clarify. Today I made a bandana dress- I suppose "made" is a bit of a stretch. More like I upcycled one of Pest's (that's my three year old daughter who will be making her modeling debut at the end of this post) too short tank tops into a dress with a handkerchief hem. She is tall and skinny, and outgrows the length of clothing pretty quick, so I get to revamp a lot of her old shirts. At any rate, this is what I made today, and I'll share with you how I did it.
What you'll need:
Tank top (or tee shirt- sometimes I use halter tops, just depends what I have around the house)
2 bandanas
thread to match
any sewing machine
pins
iron/ironing board
scissors
circle skirt pattern- I used this tutorial to make mine. I love her tutes- they are the easiest ever to follow, and so cute!
I started with this tank top:
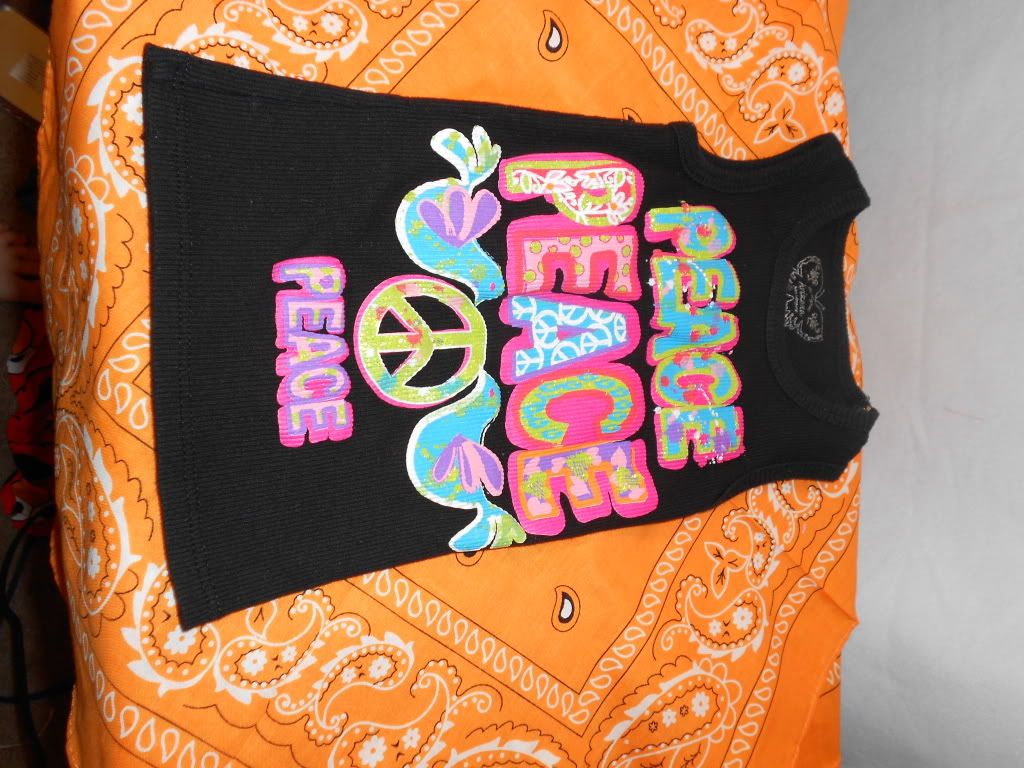
I didn't rotate- sorry!
and two tangerine colored bandanas. I probably should have washed and dried the bandanas first, but I was impatient and skipped that step. Bad me.
First off, iron your bandanas so they're all nice and smooth and free of wrinkles. Then fold it in half, press, fold in half and press all the fold lines into a nice crease. You should now have a square one quarter of the size of your bandana. Like this:
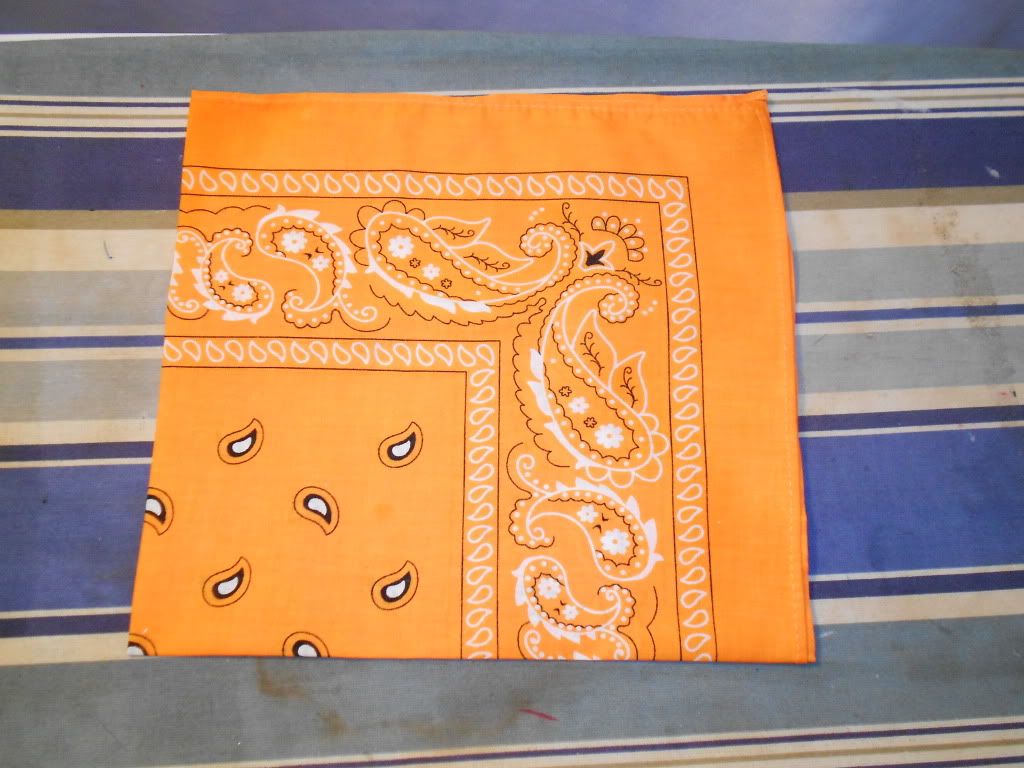
Please excuse my ironing board cover. I know it's in desperate need of replacement.
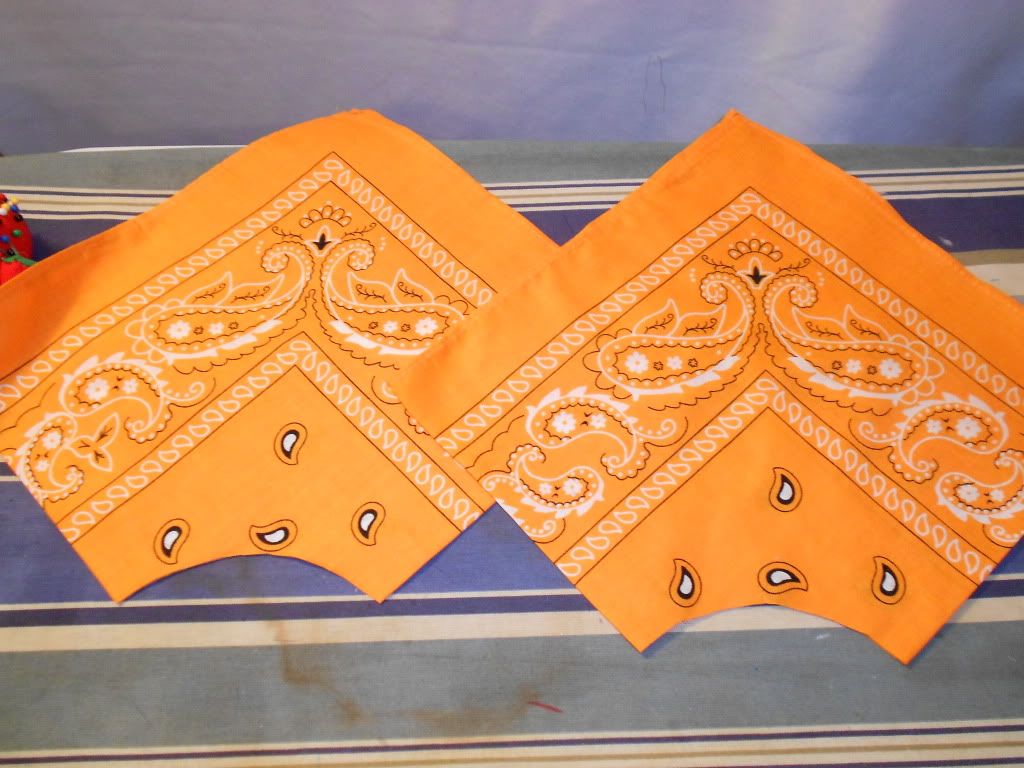
Now is when you need to cruise over to Made and get the circle skirt tutorial. You won't need the entire pattern if you don't want it, but I highly suggest you go ahead and make it. Circle skirts are the cutest, they're super easy, and they are super twirly. But make however much of it you want. When you have your pattern done, pin it onto one of your bandanas with the edges on the folded sides of your fabric.

FYI, old priority mail envelopes (the tyvek stuff that doesn't rip) make excellent patterns for little people clothes.
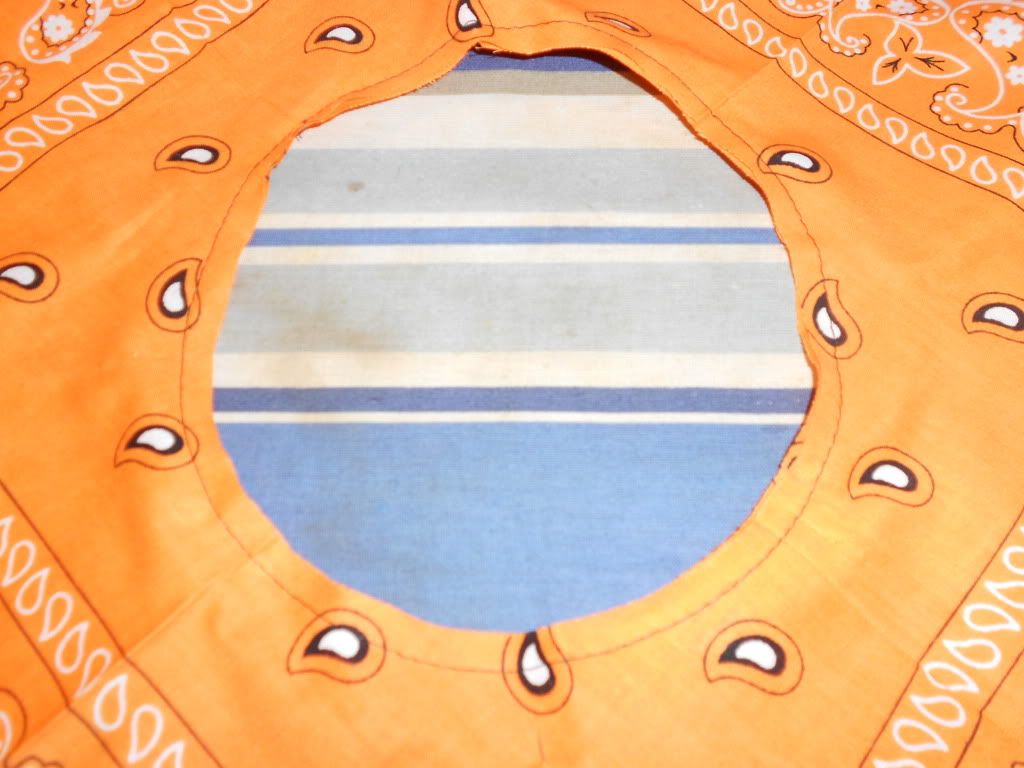
Cut out the little quarter circle in the middle, and do the same thing for your other bandana. They should look like this:
Unfold them and stack them on top of each other, but stagger them so that the point of one is in the middle of a straight side.

Pin them together, and baste. Here is mine basted together.
Next, cut the bottom hem off your shirt. Since this shirt was already a little short, I just cut the bare minimum off, but if it was a shirt that fit, or was a little long you could cut off more.

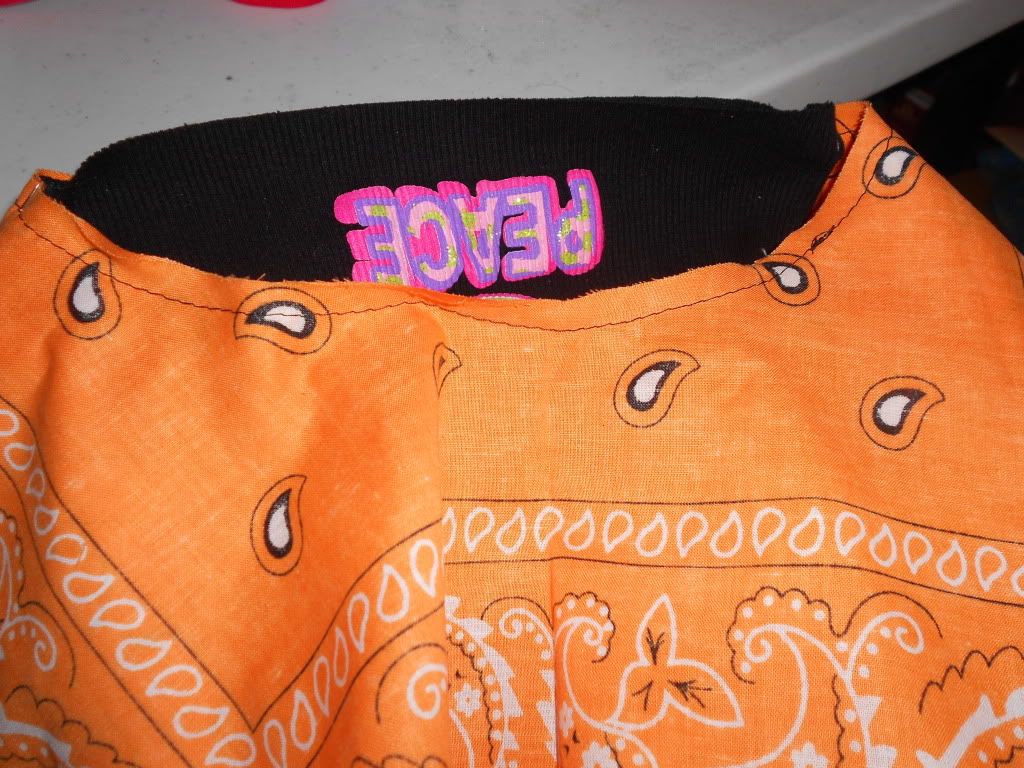
Flip the skirt portion over so that you are looking at the back side and slip your shirt down through the waist of the skirt. Starting at the side seams of your shirt, pin the skirt to it. This is where your creases will come in handy. I start out by pinning both side seams to the corresponding crease in the skirt. Next I match up the side seams and pinch the front of the shirt to see where the halfway point is, then pin that to the matching crease.
(I really hope that makes sense, because I forgot to take a pic of that
step.) Put a pin halfway between each of the pins already there, then at
the halfway point between those. Feel free to question me about that,
because it didn't even make sense to me. Now sew it together right over
the top of your basting stitches.
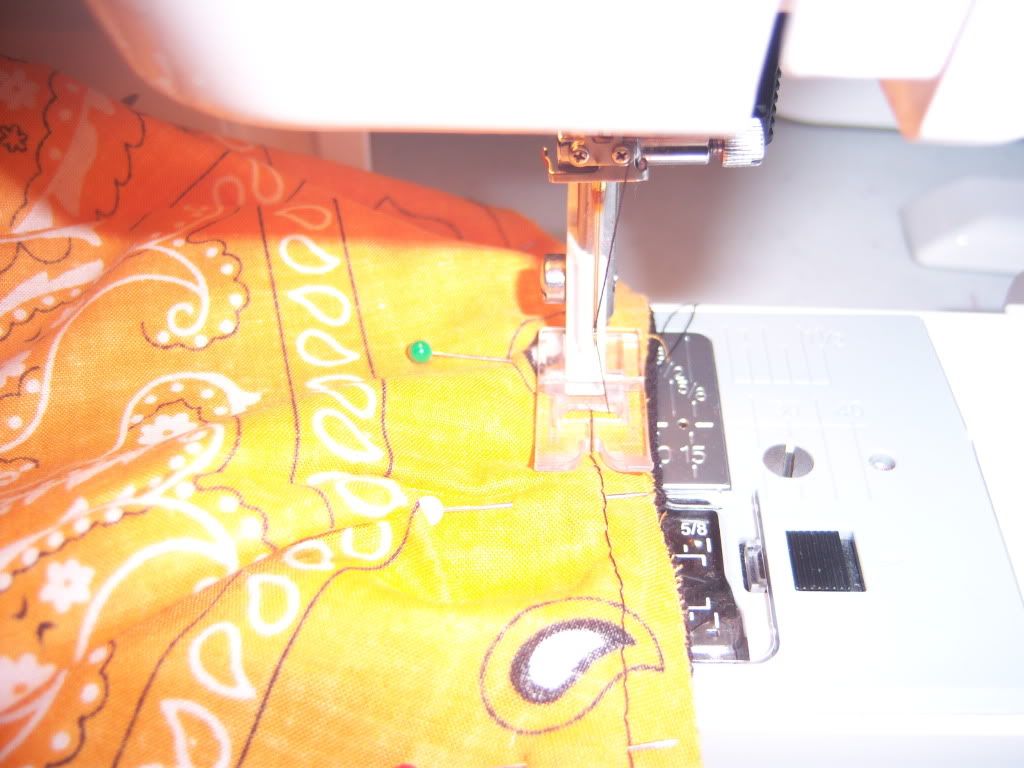
I serged over the raw edges, but if you don't have a serger you can just zig zag around it. Either works.

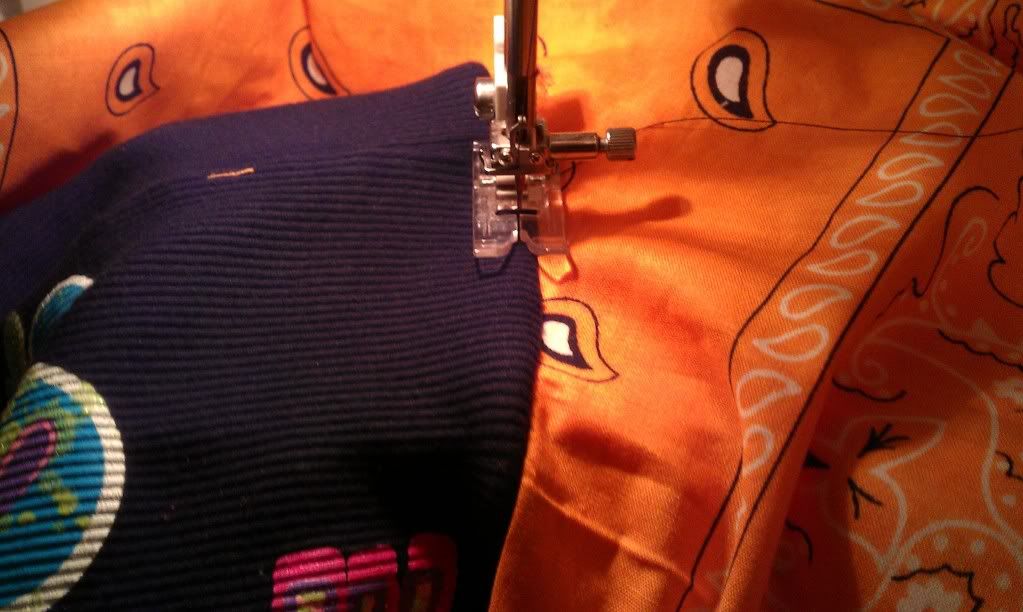
Now flip the skirt down. Spiffy, right? You're almost done. Top stitch around the bottom of the shirt. Run your finger along the bottom side of the dress as you sew to make sure the seam is flipped the right direction so that you catch it while you're sewing.
You're done! Super simple, right?
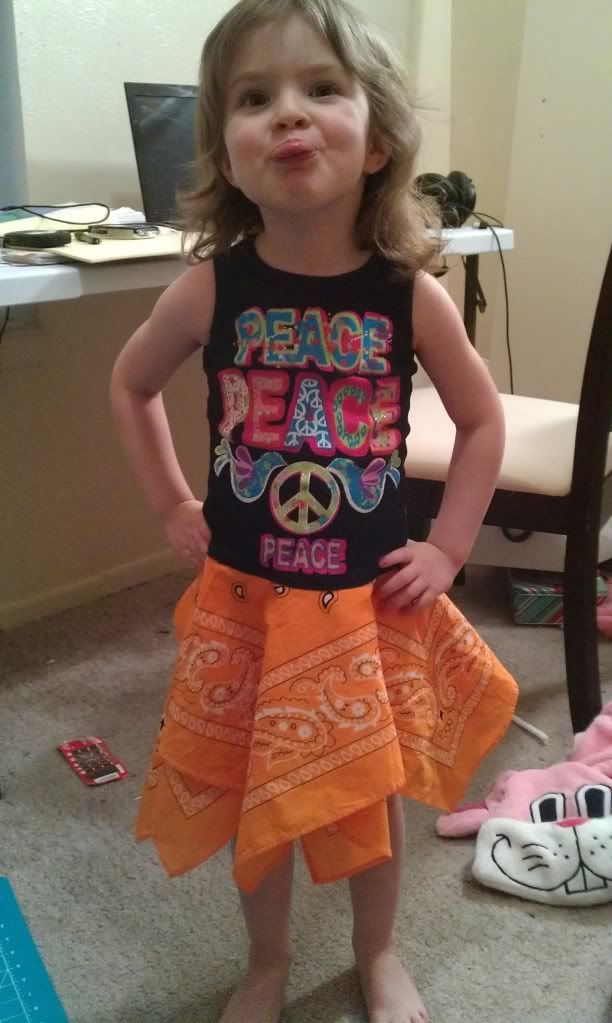
I love making these little dresses and Pest loves wearing them, due to the spin factor. This was the first time I'd ever made her one with the handkerchief hem. Usually I just do a circle skirt and sew it on the same way. I saw the bandanas in the store earlier today though, and thought I'd give it a shot.
very cute. thanks for sharing
ReplyDeleteVERY COOL IDEA...LOVE IT!!!
ReplyDeleteBrilliant!! So easy, my granddaughters will be setting a new trend over here in the summer :) Thank you xx
ReplyDeleteJane Louis
I used your tutorial to make a couple of dresses for my granddaughters. Thank you. I also made a yo-yo out of the circles that were cut from the middle of each bandana, making one slightly smaller than the other. I stacked them up and attached them to the bodice with a small button. Kind of looks like a sweet corsage.
ReplyDeleteFun! and thanks again...
What Size Bandanas do you use?
ReplyDeleteI don't recall measurements, but I know I bought them at Michael's, and I'm pretty sure they only carry one size.
DeleteHow do you deturman the size
ReplyDelete